
When PNG is the right source
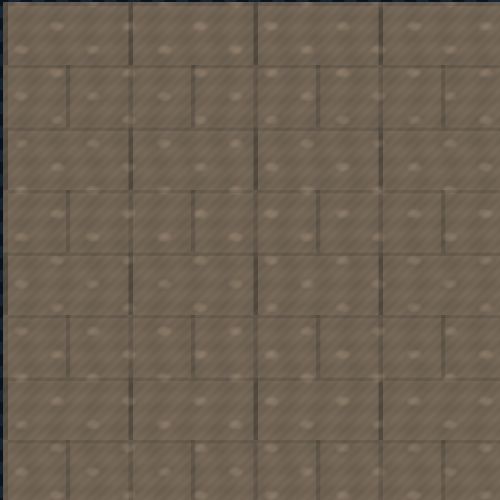
PNG is ideal for lossless texture sources, UI materials and cutout assets. It avoids JPEG blocks that can become false surface detail when a gradient filter reads the image.
- Use evenly lit source textures
- Keep alpha edges clean
- Choose Repeat for tileable textures
- Export the result as Linear / Non-Color data
Transparent pixels
Normal Map Maker decodes with premultiplied alpha disabled. Transparent pixels do not contribute hidden RGB color to height calculations, while the original alpha channel is carried into map previews and 8-bit exports.
How to convert a PNG to a normal map
Open the texture workspace, choose the PNG from your device and inspect the derived height preview before judging the normal map. Begin with moderate Blur and Strength settings. Blur suppresses isolated pixel noise before the gradient is calculated, while Strength changes how strongly brightness transitions become surface slopes. Choose Scharr for crisp, balanced detail or Sobel for a slightly softer response.
Select OpenGL (+Y) for Blender, Unity and Godot workflows or DirectX (−Y) for Unreal Engine. The convention changes the green channel direction, not the amount of detail. Preview the result under moving light, check transparent boundaries at full size and download the normal texture only after the raised and recessed areas read correctly.
Avoiding halos and false detail
A clean PNG can still produce a poor normal map when the source contains baked shadows, bright outlines or color fringes around transparent edges. Those pixels look like height changes to an image-based converter. Remove matte-colored edge pixels, reduce strong lighting gradients and keep the useful subject far enough inside the alpha boundary for filtering.
For tileable textures, inspect all four seams with Repeat edge mode and test the plane preview at several UV scales. For decals and isolated assets, Clamp usually prevents pixels from the opposite edge from influencing the border. Exported normal data should be sampled as Linear or Non-Color data in the destination application.
Choose a useful PNG source
Use a PNG when lossless edges, exact pixel values or transparency matter. It is a strong source format for tileable materials, decals, cutout foliage, interface surfaces and hand-authored height information because it avoids the block boundaries and ringing introduced by JPEG compression. The converter still cannot recover depth that is not present in the image, so source quality and lighting remain more important than the file extension alone.
Prefer an evenly lit albedo, scan or grayscale height source. Remove cast shadows, bright specular reflections and broad exposure gradients before conversion because brightness is interpreted as a clue to relative elevation. Crop perspective, keep the intended material scale consistent and retain enough resolution for details that will survive at the final texel density. Enlarging a small PNG does not recreate missing surface information.
How PNG pixels become surface directions
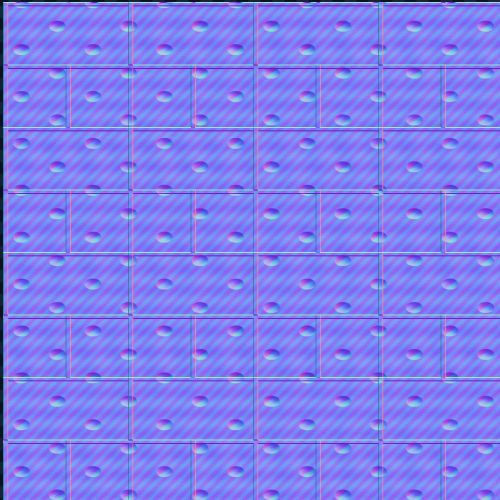
Normal Map Maker derives a grayscale height field from the source, compares neighboring height samples and converts those slopes into tangent-space RGB directions. Red stores the horizontal direction, green stores the vertical direction and blue points away from the surface. Flat areas therefore remain mostly blue, while meaningful transitions introduce red and green variation around edges, grooves and raised forms.
This is deterministic image processing rather than generative AI. The same pixels and parameter values produce the same map, and every major assumption remains adjustable. A bright painted mark may be interpreted as raised even when it is physically flat, so inspect the height preview before accepting the normal result. Automatic conversion is best treated as a controllable starting point rather than a measurement of real geometry.
Preserve transparency without edge halos
Transparent PNGs often contain RGB values in pixels whose alpha is zero. Those hidden colors can create a bright or dark rim when an application premultiplies, filters or resizes the image. The local decoder avoids premultiplying alpha for the working source, and transparent pixels are excluded from contributing hidden RGB to the derived height calculation. The original alpha remains available in previews and standard 8-bit exports.
Source preparation still matters. Remove matte-colored fringes around cutout boundaries and extend meaningful edge color beneath partially transparent pixels so mipmaps remain clean. Inspect leaves, decals and soft masks against both light and dark preview backgrounds. For a hard cutout, keep the alpha boundary deliberate; for a soft transition, make sure the visible color and inferred height fade together rather than creating a raised outline.
Set blur, level and normal strength
Begin with Blur near zero and moderate Strength. Increase Blur only enough to suppress isolated pixels, scanner noise or compression-like artifacts before the gradient is calculated. Excessive blur removes the very pores and scratches the normal map is meant to describe. Level shapes the height response, while Strength controls how strongly its slopes affect the exported directions. Adjust the height interpretation first and normal intensity second.
Judge strength under a moving light rather than from saturated colors in the raw normal texture. If every detail produces sharp highlights and the map is no longer predominantly blue, reduce Strength or soften the source. If broad forms disappear, check height contrast before increasing strength. A strong normal cannot restore a missing height transition; it only exaggerates the gradients that already exist.
Choose Sobel or Scharr filtering
Scharr is a useful default for clean PNG sources because its gradient response is balanced across horizontal, vertical and diagonal directions. It can retain crisp detail from a well-prepared height field. Sobel produces a familiar, slightly softer response that may be preferable for noisy photographs or materials where high-frequency features should remain restrained. Neither filter changes the meaning of black and white height values.
Compare the filters at the same strength and blur setting. A filter should be selected for stable lighting at the final material scale, not for the most dramatic full-resolution thumbnail. Inspect diagonal scratches, circular features and repeated patterns for directional bias. If both results look noisy, correct the source or add a small blur instead of using strength to hide the problem.
Make a tileable PNG normal map
A normal map can tile cleanly only when the source height and visible color are continuous across opposite borders. Repair the PNG seam before conversion, then choose Repeat edge mode so samples at the left edge can read the right edge and samples at the top can read the bottom. Clamp is better for isolated decals because it extends border values instead of wrapping unrelated opposite pixels.
Use the plane preview with several UV repetitions and move the light across every boundary. Check albedo, height, normal, roughness and AO independently because one clean channel can hide a seam in another. Evaluate more than one scale: a narrow mismatch may be invisible close up but produce a repeating grid after mipmapping. Edge mode supports a prepared tile; it does not automatically repair a mismatched source.
Select OpenGL or DirectX output
Choose OpenGL (+Y) for Blender, Unity and Godot, and DirectX (−Y) for Unreal Engine. The switch reverses the tangent-space green direction while keeping red, blue, alpha and detail strength unchanged. Use the engine preset when available and preserve the convention suffix in the downloaded filename so the file remains identifiable after it is copied into another project.
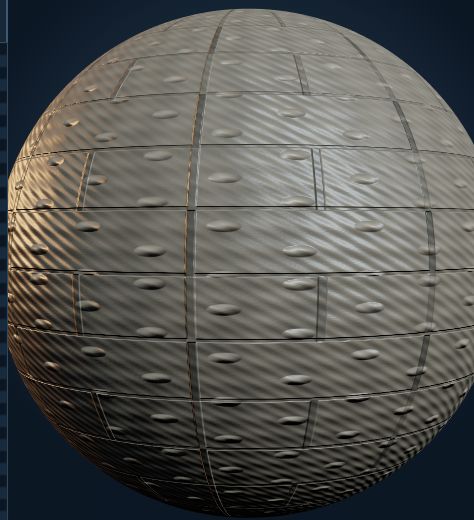
To verify direction, apply the map to a plane or sphere with an obvious raised shape and rotate one light around it. If horizontal slopes behave correctly but vertical slopes look recessed, change the convention or invert green once. If artifacts follow UV seams or polygon faces instead, investigate tiling, tangents, triangulation and mesh normals rather than repeatedly changing the PNG channels.
Export and validate the PNG normal map
Download the normal map only after checking transparency, seams, strength and convention. Import it as a Normal texture or Linear or Non-Color data according to the destination application; do not sample it as ordinary sRGB color. Normal maps are normally delivered as 8-bit RGB PNG because their normalized directions and runtime compression do not benefit from a 16-bit color export in most material workflows.
Test the final file on the actual mesh with production UVs, mipmaps and platform compression. Compare it with an uncompressed reference if shallow detail becomes blocky or disappears. Keep the original source PNG and the convention-labeled normal beside the project so future artists can regenerate or convert the asset without guessing which green direction was used.
- Use lossless PNG for transparency and exact source edges
- Inspect the inferred height before increasing normal strength
- Use Repeat only after opposite source borders match
- Import exported normals as data, never ordinary sRGB color