
Generate height instead of converting height to normal
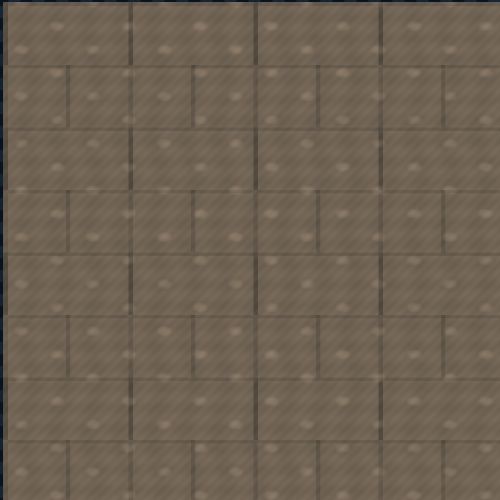
This page starts with an image, photo or color texture and derives relative elevation. The separate height-to-normal converter starts with an existing grayscale elevation map and calculates tangent-space directions. Use this generator when the height map itself is the output you need for displacement, bump, parallax or later texture authoring.
How brightness becomes elevation
The local processor converts source color to linear luminance, then applies Height Intensity, Contrast, Blur and Invert. White represents higher values and black represents lower values unless Invert is enabled. A single image cannot reveal true geometry, so painted lighting and material color may need correction before the grayscale result represents useful shape.
Preview displacement before export
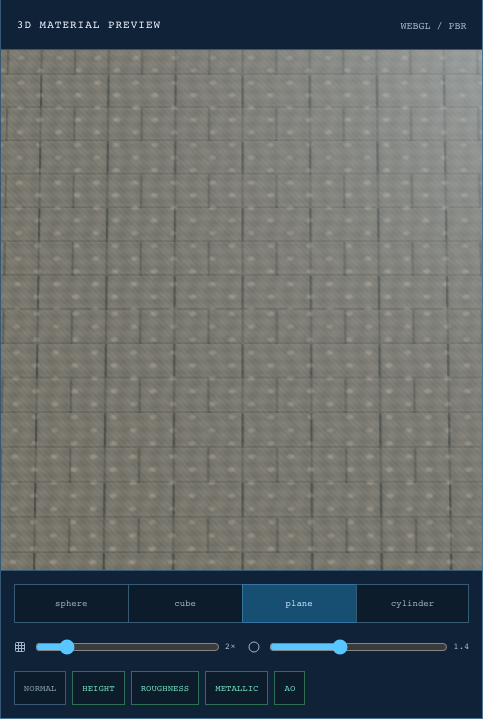
The workspace opens on the Height tab with Height parameters expanded. Its 3D preview starts on a subdivided plane with displacement enabled, so broad elevation, clipped levels and tile seams are easier to see than in the grayscale image alone. Adjust Displacement for preview scale without confusing that display value with real-world units.
Choose 8-bit or 16-bit PNG
Eight-bit height is compact and often sufficient for masks, bump and shallow parallax. Choose 16-bit for smooth gradients that will move subdivided geometry, especially when banding is visible in an 8-bit test. Additional precision preserves tonal steps but cannot recover depth or detail missing from the source photo.
Choose a source image that can describe relief
Start with a front-facing, evenly lit photograph, scan or albedo texture. Diffuse lighting is important because the generator reads brightness as relative elevation: a cast shadow can become a false trench and a specular highlight can become a false ridge. Correct perspective, crop the useful surface and remove broad exposure gradients before expecting the height field to tile or displace cleanly.
Resolution should match the feature size needed in the final material. A high-resolution source can preserve pores and small chips, but sensor noise and JPEG blocks can also become unwanted elevation. PNG or a carefully encoded WebP source keeps edges cleaner; JPG remains useful for photos when compression is restrained. Enlarging a small image does not recreate missing depth information.
Build the grayscale height field
Load the source and begin on the Height tab. The browser converts sRGB color values to linear luminance before combining red, green and blue, so the calculation behaves like data processing rather than a simple screenshot desaturation. Height Intensity expands or contracts deviation around the midpoint, while Contrast separates darker and lighter regions. Make broad shape readable before preserving small detail.
Use Invert when the source relationship is consistently reversed. It swaps high and low values across the full field; it does not fix an isolated painted shadow or reflective patch. Compare the source and height previews while changing one control at a time. If a dark material should be physically raised, mask or edit that region in an image editor instead of forcing every dark value upward.
Control noise, edges and tile seams
Blur suppresses isolated pixels and compressed texture noise before export and before other maps are derived. Increase it only until unstable speckles disappear. Excessive blur merges nearby features, rounds hard borders and can make displacement look inflated. Judge the result at the final UV scale because noise that dominates a full-size preview may be invisible after texture filtering.
Choose Repeat for a source whose opposite borders are already continuous. It lets processing treat left and right, or top and bottom, as neighbors when related maps are calculated. Choose Clamp for decals and unique images. Neither option repairs a visible mismatch in the source, so inspect the displaced plane with several UV repetitions before calling a texture seamless.
Read the 2D height preview
The grayscale preview exposes the values that will be written to the PNG. Look for clipped black or white regions, abrupt bands in areas meant to be smooth and tonal changes caused by lighting instead of shape. A useful displacement source normally keeps important surfaces inside the available range, reserving the extremes for intentional minimum and maximum elevations.
Black and white define relative positions, not centimeters. A medium gray can be treated as the neutral plane in one renderer while another workflow uses black as its baseline. Keep enough headroom on both sides of the intended midpoint when the destination displaces inward and outward. Confirm the target material's midpoint before editing values destructively around an assumption.
Check the height map as 3D displacement
The height-first workspace enables displacement on a subdivided plane by default. Rotate the view and move the light to find terraces, spikes, border ridges and implausible broad slopes. The Displacement control changes preview amplitude, helping reveal subtle banding or exaggerated shape. It does not embed a real-world scale into the downloaded image.
True displacement needs enough mesh subdivision in Blender, Unreal Engine or another renderer. A low-poly plane cannot reproduce texture detail regardless of bit depth. Silhouette changes are the clearest proof that vertices are moving; normal and bump mapping affect shading without changing the outline. Test both the grayscale range and the destination mesh density before blaming the PNG.
Decide between 8-bit and 16-bit height
An 8-bit grayscale PNG stores 256 levels and is appropriate for many masks, bumps, shallow parallax effects and compact web or game assets. It is widely supported and easy to inspect. When the tonal range is compressed or stretched aggressively, however, gradual ramps may reveal visible steps after displacement. Test the actual export rather than assuming the preview proves delivery precision.
A 16-bit grayscale PNG stores far more intermediate levels and is the better choice for smooth terrain, sculpting input and visible geometry displacement. It reduces quantization but increases file size and requires a pipeline that preserves the precision. Import it as linear or non-color data and verify that an editor or engine has not silently converted it back to 8-bit.
Height maps and displacement maps use the same values differently
A height map is the grayscale data produced by this page. It becomes a displacement map when a renderer uses those values to move vertices or tessellated surface points. The same PNG can instead drive bump, parallax, terrain blending or masks without changing geometry. Choose resolution, bit depth and tonal range for the destination technique rather than treating displacement as a separate image format.
Use the result in Blender or a game engine
In Blender, load the height PNG as Non-Color data and connect it through a Displacement node when the render setup and mesh subdivision support real displacement. A Bump node provides a shading-only alternative. Establish the midpoint and scale in the material, then verify the silhouette and grazing angles. Keep the original source beside the exported height map for later correction.
Unreal Engine, Unity and Godot offer different combinations of tessellation, parallax, height blending and shader-specific displacement. Check the exact pipeline instead of relying on the filename. Disable sRGB for height data, preserve 16-bit precision only where the importer and texture format support it, and test performance on the target platform before using dense geometry or expensive parallax broadly.
- Use evenly lit, front-facing source images
- Correct false shadows and highlights before generation
- Inspect both grayscale values and displaced geometry
- Use 16-bit only when the destination preserves and benefits from it